
[Disclaimer: This post contains affiliate links. Purchasing items through the links gives me a small commission with no extra charge to you. I only link up products I personally use and trust. Thank you for supporting my blog.]
I love to craft and I have so many projects in mind (most of them being those "large" time consuming ones) that I sometimes feel like I don't accomplish anything because of my limited schedule. That's why quick and easy 5 minute projects like this one are always my favorites. They are the little projects that keep me going in between the big ones. And hello- how cute is this?
(psst: you've seen it before in this post but here is the tutorial)

Make your own frame in any design or pattern you wish! I made this frame to use during my son's 2nd birthday party but love the design so much I plan to use it around the house for other decoration or to hold family photos.
Here's what you'll need:
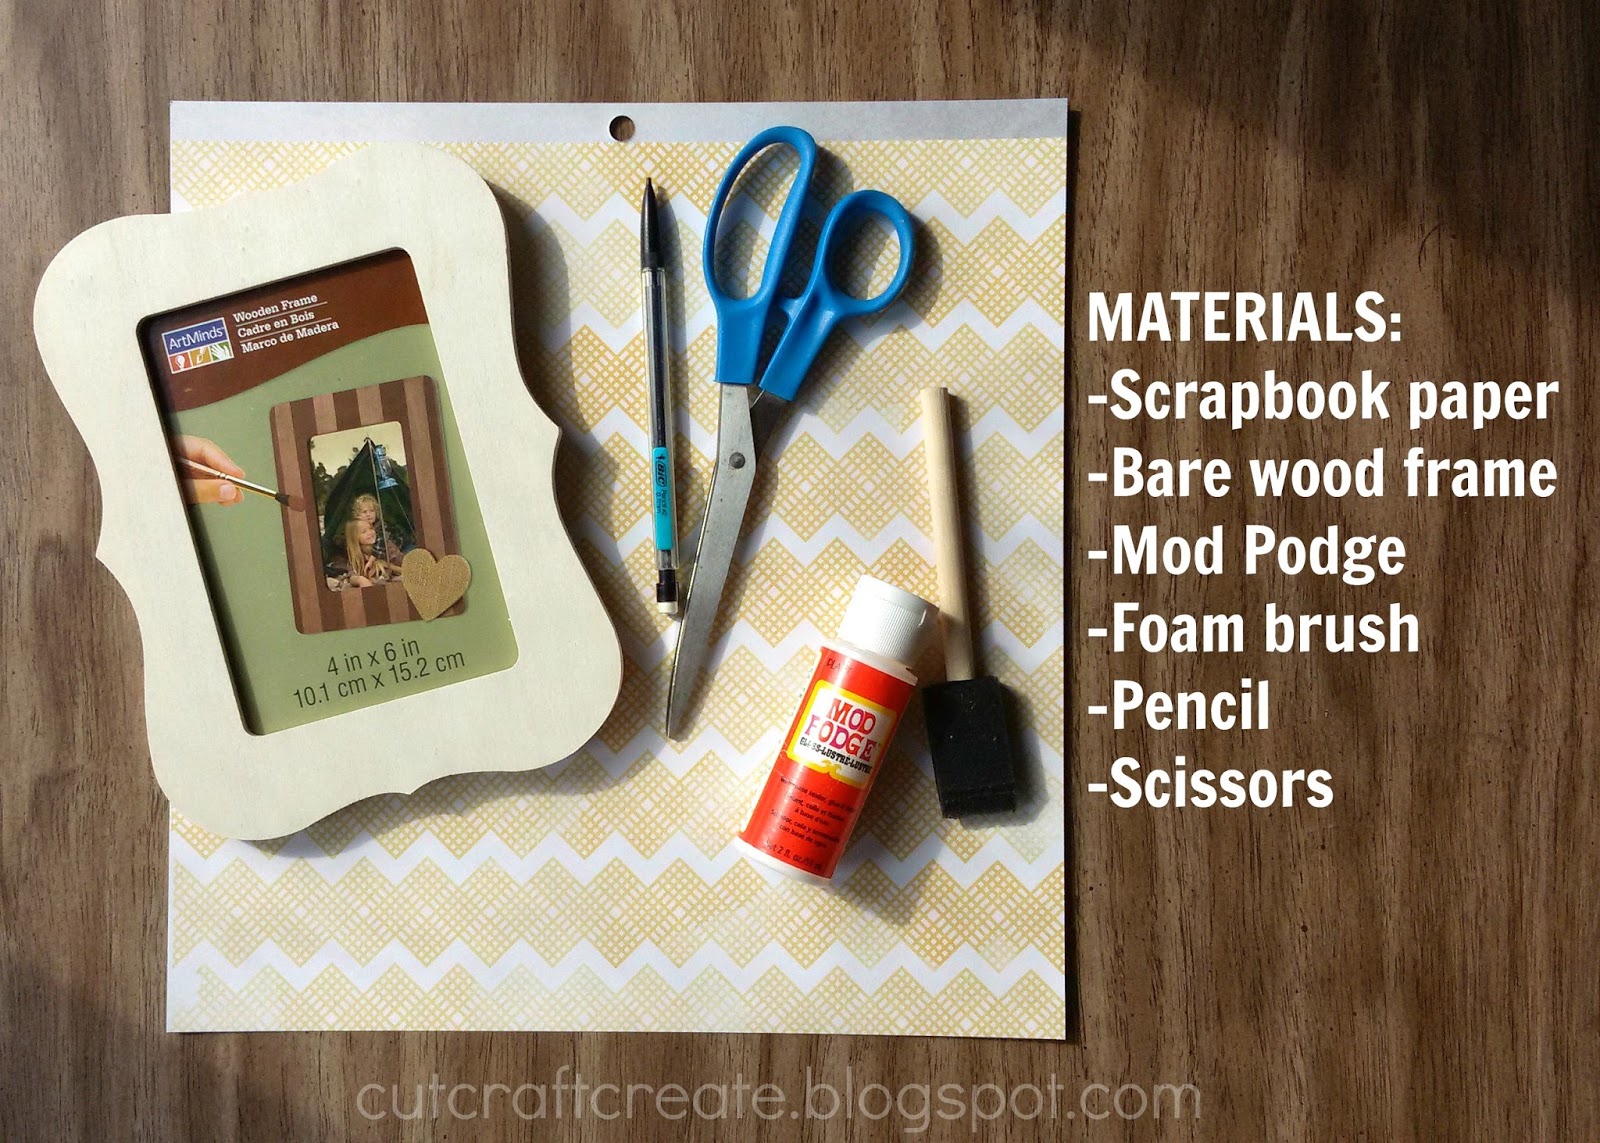
I purchased the frame at Michaels Craft Store (I got several of them in different border shapes for only a dollar or so) and like these because they are made for craft projects. The wood is actually bare (no paint, stain or sealer) so it takes to these DIY projects much better than an old finished frame.
Ready to start?
It really does take around 5 minutes start to finish to make this frame and only a few simple steps. I took lots of photos but it will only take you about as long to complete them as it does to read them.
Step 1:
Flip your frame front side down on the scrapbook paper and trace the outline of the frame (the outside and inside both).

Step 2:
Cut out the piece you just traced. It should look exactly like the wood portion of your frame.

Step 3:
Cover wood frame with Mod Podge

Step 4:
Place your paper on top of the wet Mod Podge, pressing firmly along the edges. Finish by covering the top of the paper with another light layer of Mod Podge. This will give it a more finished look and help protect it from wear.

{That's it!}
There you have it folks. I told you it would take just as long to read the instructions as it does to make it. Love this easy way to decorate around the house and how cute would these be as gifts for Christmas or to your kid's school teacher? Buy a frame with glass in it and make your own dry erase board (tutorial here) which may make an even cooler gift. (Psst... see how else I used the DIY dry erase board for a party activity!)

No comments:
Post a Comment